How To Do The Canon IJ Setup Using canon.com/ijsetup?
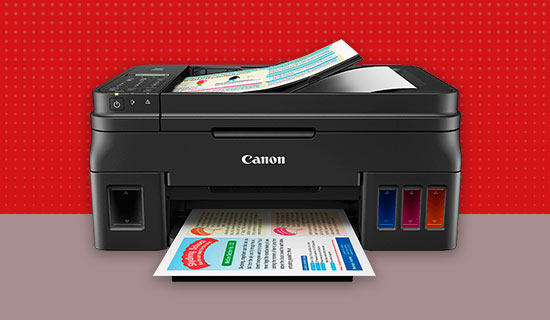
Canon printers have been in the game for so long now. They are well known for their amazing print quality and efficiency. To use the Canon Ij printer you must set it up. For Canon IJ setup, visit canon.com/ijsetup and get guidelines to set up your printer step-by-step. For some printer models, you will also find video tutorials for the setup. Canon.com/ijsetup is the official website for the printer setup and you can also download the printer drivers compatible with your printer model from there and install the printer to your system.
Steps To Setup The Canon IJ Printer Using The WPS Method:
- The first and foremost step is to turn on the Canon IJ printer and make sure you place it near the wireless router so that the WPS button is reachable.
- Keep holding the wireless button on the Canon printer until the lights are lit.
- Within the next 2 minutes push the WPS button on your wireless router.
- When the printer is looking for available networks then the blue wireless light is switched on.
- The power and Wifi lights that were flashing will get stable after the connection is successfully made.
- You must try printing a test page from your Canon printer to check if the connection is properly made.
- Load the sheets into the input tray and see if it works.
Steps To Setup The Canon IJ Printer Using The Standard Connection Method:
In case your wifi router does not support a WPS button then, you can do the connection by following the below-mentioned steps;
- Firstly, make sure the printer is connected to the printer to make some settings.
- The next step is to load the A4 size sheets into the input tray.
- Now, for a few seconds press+hold the resume/cancel tab to proceed.
- Check for the internet connection status, in the information page printout.
- Here, you must check the network name i.e. SSID as well.
Steps To setup The Canon Ij Printer On The Windows Operating System:
- Firstly, press the Windows button on your keyboard to launch the start menu.
- The next step is to open the settings menu.
- Here click on the ‘Devices option’ from the settings menu.
- From there, choose the ‘Scanner and printer’ option to proceed.
- Then proceed by the ‘Printer and Scanner’ option.
- Next, you must select the ‘Add printer or scanner option and add your printer from the list.
- That’s it your printer will be connected. In case this is a new printer then connect it to the same wireless.
Steps To Setup The Canon IJ Printer In The Mac Operating System:
- Firstly, you must select the ‘System preferences’ option in your Mac system.
- Now, choose the ‘Printers and Scanners’ option next.
- To add a new printer tap on the ‘+’ sign.
- A list with all available printers or so will be displayed on the screen.
- Choose your printer by name and model number in the list.
- Then, you must connect the Mac device and the Canon IJ printer to the same wifi network.
- Make sure the connection is made and now check the printer by printing a test page.
Canon Your Way!
Canon IJ Setup is complete using the above-mentioned website. You can now enjoy using this amazing printer after completing the setup with the help of canon.com/ijsetup. You are all set to start printing and have amazing printouts at your end.


Comments
Post a Comment